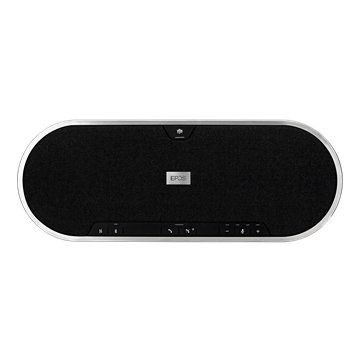
EXPAND 80 Series
Unite colleagues with a premium, scalable Bluetooth® speakerphone for up to 16 in-room participants to empower collective performance across locations.
In today’s hybrid workspace, frictionless collaboration during virtual meetings is key to driving productivity and inclusion. Everyone should feel seen and heard, whether participating in-room or remotely.
EPOS EXPAND line of Speakerphones empower employees to collaborate effectively, regardless of location or meeting room size.
Unite colleagues with a premium, scalable Bluetooth® speakerphone for up to 16 in-room participants to empower collective performance across locations.

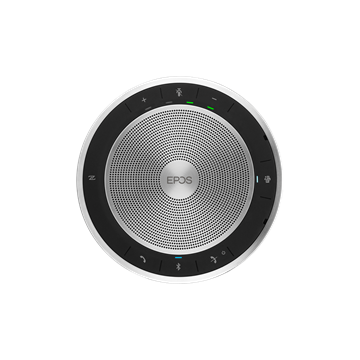
Conferencing Pack for Microsoft Teams
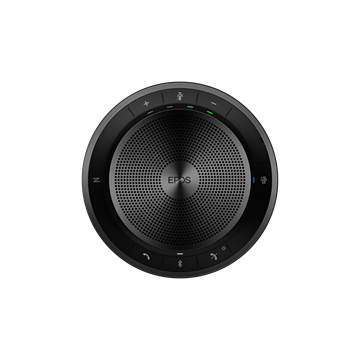
Portable Bluetooth® speakerphone with exceptional audio
Wherever you and your colleagues are, enjoy instant, high-quality conferencing with a portable, wireless speakerphone for today’s mobile workforce.
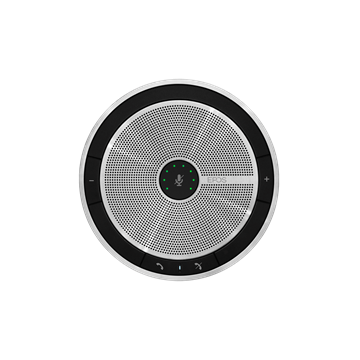
Wired Conference Speakerphone
| EXPAND 80 series | EXPAND Capture 5 | EXPAND 40 series | EXPAND 30 series | EXPAND 20 series | |
|---|---|---|---|---|---|
| Maximum number of participants in the room | 18 | 8 | 8 | 8 | 7 |
| Beamforming microphones | 6 | 7 | 3 | 2 | 1 |
| Bluetooth | Yes | No | Yes | Yes | No |
| Advanced voice recognition | No | Yes | No | No | No |
| Live automated meeting transcription | No | Yes | No | No | No |
| UC optimized variant | Yes | No | Yes | Yes | Yes |
| Microsoft Teams certified variant | Yes | Yes | Yes | Yes | No |
| Prices (from) | €649/$719/£569 | €419/$469/£369 | €285/$329/£245 | €149/$169/£129 | €119/$139/£99 |

Expansion Microphone
Table mount for EXPAND 80 speakerphones